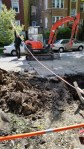
To start the week, our plumbing contractor arrived with a backhoe to start the dig for the new water service into the building. As mentioned previously, this two flat had been built in 1896, which, like many old Chicago homes, means old lead pipes. Our building had 1 1/4″ lead water line serving the building and we plan on upgrading this to a 2″ copper line.
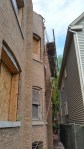
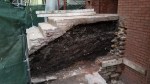
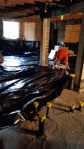
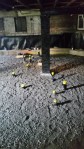
In the weeks leading up to this event, our plumbing contractor had pulled a special permit with the City of Chicago, which (1) allows him to dig up the street, and (2) notifies all relevant utility companies to come to our project site and mark all existing underground infrastructure. As shown in the first photo, the utilities place a flag marking what is beneath the ground and spray paint a line showing the approximate location and direction of said infrastructure. With the ground marked, the first order of business for our plumbing contractor was to dig a trench through the street to get down to the main city water line. At the same time, our contractor dug a smaller trench in our basement where the new water line is to come in.
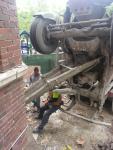
With both trenches dug out, our plumber placed a hydraulic powered tool in the basement trench and aligned it pointing straight towards the trench in the street. Once everything was aligned, the tool dug underground for a good 30 or so feet, beneath our stairwell, the front walkway and the public sidewalk, to end up square in the middle of the trench by the street. Once he removed the tool, he unrolled the long copper pipe and tied it to the end of the hose, which had provided the hydraulic pressure to the tool, and pulled the copper pipe straight through the opening. On the street side, our plumber connected the pipe to the main city water pipe; on the house side, our plumber will route all water service piping from this entry point.
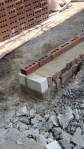
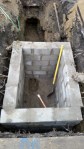
For the final step, our plumber built a underground vault out of cinder blocks, which will house our smart water meter. Without a water meter, Chicago uses a formula, based on factors such as building width, number of bathrooms, etc, to calculate water usage. This formula tries to capture how much water you can use, therefore in most instance you are paying much more than you would with the water meter. The meter will also give you good data in case you are trying to conserve water, you could compare your actual usage versus buildings of a similar size.
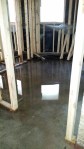
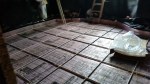
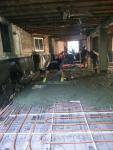
With the underground plumbing, radiant system and new water service complete, we were finally ready for a basement concrete slab! Our intention is to have a polished concrete floor as our end product, therefore our concrete contractor recommend that we make sure the concrete floor is as smooth as possible prior to the final grinding (to happen much later in our construction process). Therefore, we made sure to (1) get a 5 bag mix, meaning its a little more liquid, getting us a better chance to make sure the floor is level; (2) have a chemical free concrete mix, because you don’t want any oily streaks on the exposed floor, and (3) made sure that our contractor smoothed the concrete as much as possible during the pour, to avoid uneven / bumpy areas which would prevent us from properly grinding / polishing the concrete later on. With the concrete poured, it will take a few days for it cure and be strong enough to start building out the framing. The concrete will continue to cure for up to 3-4 weeks. Hopefully everything went well and all this effort has minimized any big cracks in the concrete!
-

-
Utility companies begin to mark their lines running underground in front of our property
-

-
Orange flags were marked by old telecom lines, Red would mark electric lines, yellow would mark gas lines, and blue would mark water lines.
-

-
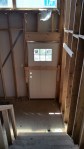
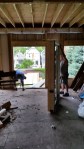
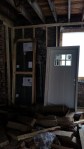
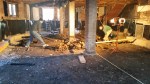
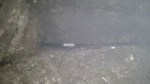
The entry trench in our basement
-

-
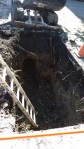
Digging the trench to get to the city water line
-
-
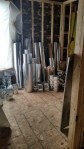
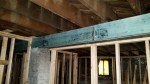
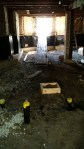
Old unused pipes are capped, and a hole to the connection point of the new service is made
-

-
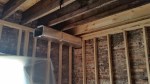
The hydraulic tool used to borrow through our foundation and under the front lawn to reach the street
-
-
Tool in action. The photo is hazy because of all the dust created through the repeated pounding
-
-
Tool breaking through on the other side, about 30 feet away.
-
-
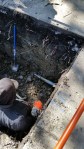
Installing the new water service pipe
-
-
The water meter vault
-
-
Concrete Truck pulling up to the building
-
-
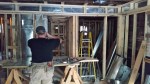
Workers pushing the concrete further into the building
-

-
Smoothing out the final few areas of the floor
-

-
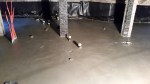
Concrete left to cure
-
-
Concrete poured to just the right level. Notice the small circle towards the bottom of the photo. This will be a floor drain for the mechanical room